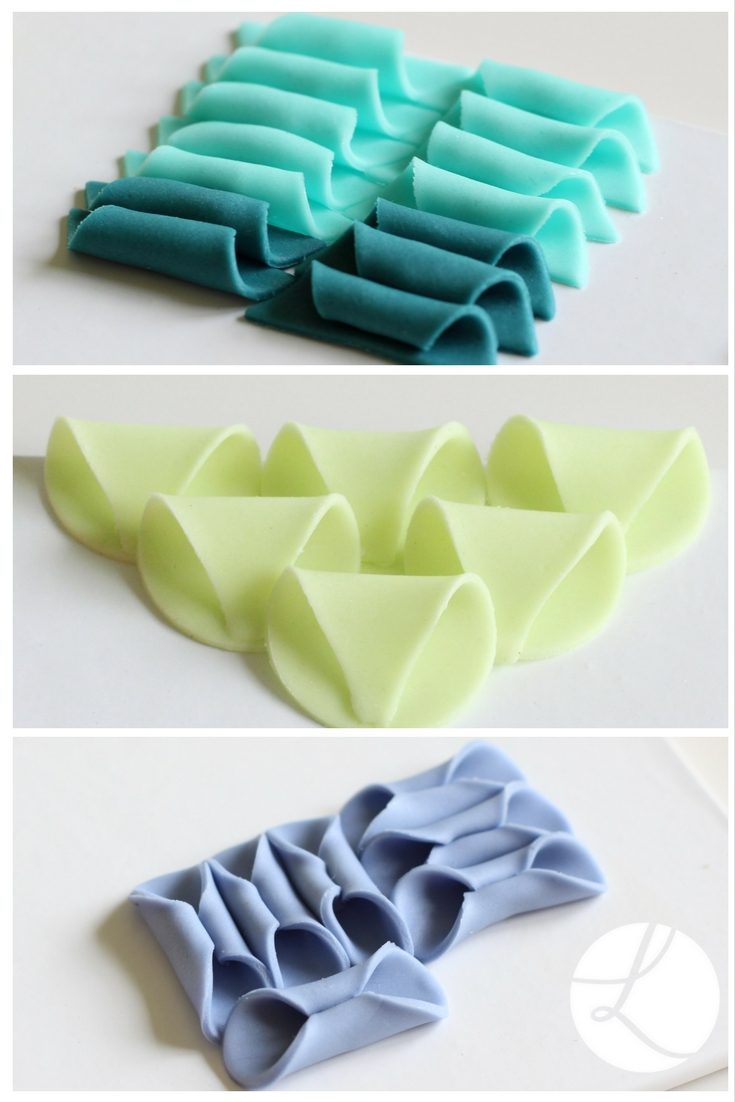
“Ways of creating textures in sugarpaste please” is one of the most recent requests I have received from my students. There are, of course, countless ways to do this. I always like to throw something new into the mix, so decided to experiment using cutters and this blog is all about the 3-dimensional textures and patterns I discovered. Can I inspire you to experiment too? Here are some of the examples that seemed to work well, ones I was rather pleased with:

To create the 3D textured paste you will need:
- Modelling paste in the colours of your choice – sugarpaste is too soft and will not retain its shape.
- A selection of sugarcraft cutters. I recommend using stainless steel cutters as they have sharper edges which help to prevent ‘feathering’
- 1mm spacers – so all your paste is the same thickness
- A small rolling pin
To find out how to create these patterns yourself, please take a look at my short video…all will be revealed:
You can, of course, experiment with the cutters in your toolbox – I tried many! If you’d like to re-create the patterns that my students and I made here are links to the sugarcraft cutters and 1mm spacers in our shop:
Lindy’s Lisianthus Petal Cutters
Lindy’s Equilateral Triangle Cutter Set
Lindy’s Simple Arabesque Cutter Set
Hoping you feel inspired to be creative
Sweet wishes
Lindy Smith
‘Bringing world-class sugarcraft into your kitchen’
Carol Meakins says
Beautiful tutorial. Very inspiring
Lindy Smith says
Thank you Carol, very kind of you to say so 😀