White chocolate mirror glaze or “glaçage miroir” is a technique for decorating cakes that right now is becoming increasingly popular. I guess this isn’t surprising, the marble patterns created are very varied, colourful and quite beautiful. This is not a new technique but it is one that until yesterday I had not tried. I was set the challenge to see what I could do with white chocolate mirror glaze, by one of my followers on Facebook. Now I love a challenge and I have been admiring these cakes for a while, so I couldn’t say no. It is a gorgeous technique for decorating cakes but unlike buttercream or sugarpaste, mirror glaze starts as a viscous liquid, think runny honey consistency, which is poured and solidifies as it cools.
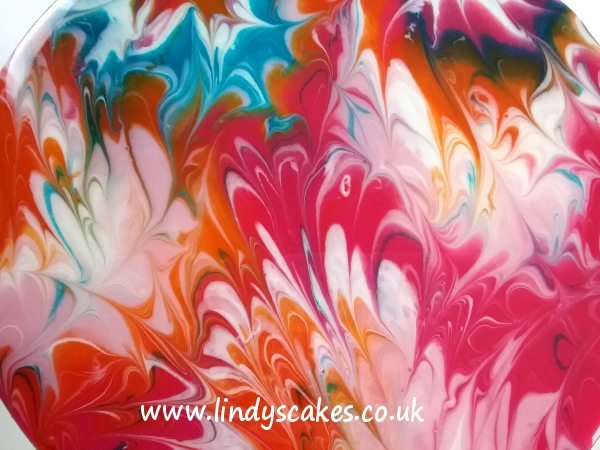
There are various recipes to create white chocolate mirror glazes but below is the recipe that I used. It is enough to cover a 23cm (9in) cake plus some extra to experiment with beforehand.
White Chocolate Mirror Glaze Recipe
You will need
19g Powdered Gelatine
125ml Water
350g White Chocolate Callets (chips) (I like to use Callebaut W2 a high-quality Belgian white couverture chocolate)
200g Sweetened Condensed Milk
300g Caster Sugar
250ml Water
Food colouring
Cake covered in a smooth covering of buttercream or ganache and well chilled or a cake covered in sugarpaste
Advertisement
Instructions
- Place the powdered gelatine and 125ml of cold water in a small bowl and allow it to bloom and absorb all the water.
- Weigh out the chocolate into a large bowl.
- Combine the 150ml water, condensed milk and sugar in a heavy bottom saucepan and bring to a boil.
- Remove from the heat and add the bloomed gelatin and stir until dissolved.
- Pour the entire hot mixture over the chocolate and stir until smooth.
- Transfer to clean containers and colour as desired.
- Pour over your chilled buttercreamed or ganached cake once the mixture has cooled to about 35°C – the consistency of runny honey.
Creating White Chocolate Mirror Glaze Patterns
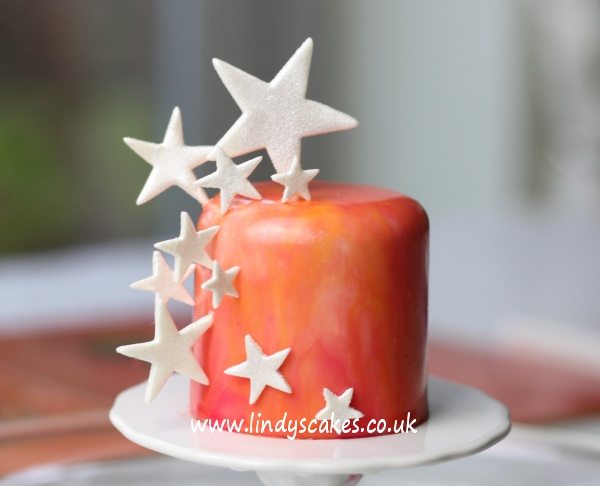
Easy intricate marble patterns
This is achieved by briefly mixing a number of coloured glazes together before pouring over a cake. In my example, I used a mix of orange and pink mirror glaze.
Standard marbling with mirror glaze
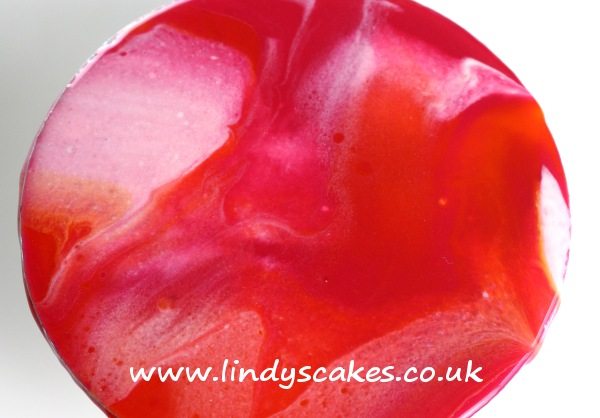
As I write, this seems to be the most popular way of currently decorating cakes with a mirror glaze. Completely cover your cake with one colour of mirror glaze. Then add pools of one or two different colours of glaze to the top of your cake. Take a palette knife and using a sweeping stroke, first go across the top of your cake in one direction and then in another direction to blend and spread the colours. Gorgeous effects can be achieved very quickly and simply using this technique.
Artistic marbling patterns
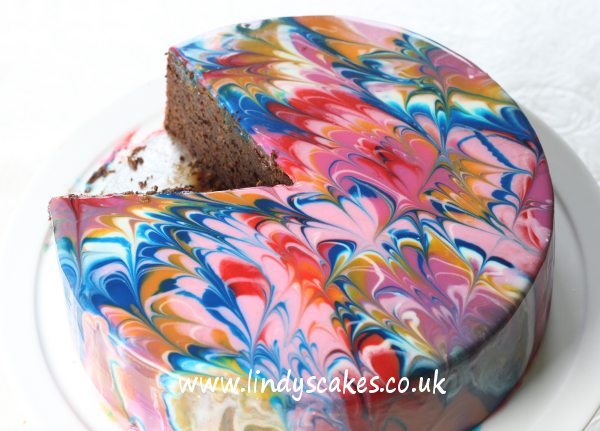
When I was set this challenge I didn’t know what I would create, but I knew it would be colourful. I mixed up six colours of glaze. The base colour is pale pink and on top of this, I added pools and strips of darker pink, red, orange, white, and blue. I then took a cocktail stick and repeatedly drew it through the colours to create the patterns you see below – Gorgeous and such a lot of fun too.
To see me demonstrate this simple technique, take a look at the Facebook live broadcast I made earlier, hopefully, it will inspire you to have a go too:
Notes when using white chocolate mirror glaze
A glazed cake does not need to be chilled, however, the determining factor is the filling. Certain fillings need to be kept in a fridge.
A freshly made glaze is best stored in a refrigerator in an airtight container for up to 10 days.
The mirror glaze will stay shiny for a day or two. My experimental pieces dried out and lost their mirror finish within 24 hours but the cake, which was stored under a glass dome was still shiny after 48 hours.
You can reuse the excess glaze that has dripped off the cake. Simply collect, re-colour and bring to the correct temperature.
Try not to introduce bubbles to the glaze when mixing, the glaze is very viscous and bubbles will not pop on their own. You will have to manually pop them. Straining the mixture through a sieve before using may help.
You can pour the glaze starting at the sides in a circular motion working towards the centre, or start from the centre and work out to the sides.
I hope you have as much fun with this as I have.
Sweet wishes
Lindy Smith
‘Bringing world-class sugarcraft into your kitchen’
Celia Griffiths says
Hi, brilliant ideas can’t wait to try. Wondered though, I’m doing a dark chocolate glaze & wanted to have a white swipe over some of it. How exactly do I do this. Do i just drop white paste on the surface or colour mixed with something else. I’d appreciate your help.
Lindy Smith says
Hi Celia
Can I suggest you experiment with the glazes on a small board using the techniques I’ve suggested? That way you should be able to discover which works for you as opposed to what look I think you are after – hope that makes sense!
Have fun, Lindy