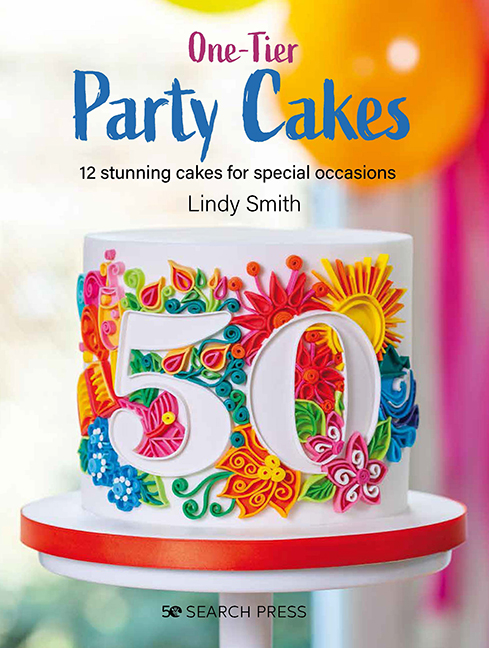
In sugarcraft, painting with cocoa butter is a relatively new technique. It certainly wasn’t around when I wrote my best-selling ‘Contemporary Cake Decorating Bible’ 10 years ago. However, I wish it had been! It’s a fabulous technique and for me, at least, it is now my favourite way of painting on cakes and cookies. I even have two cocoa butter painted cakes in my next book ‘One Tier Party Cakes’ (published 1st October 2020). October is still a few months away so I thought I’d share the basics of this technique with you now. So here is my beginner’s guide on how to paint with cocoa butter.
Reasons for choosing cocoa butter
Painting with cocoa butter has many advantages over other edible painting techniques:
Cocoa butter painting is not affected by moisture
I like to think of cocoa butter as the oil paint of the cake decorating world. This is because cocoa butter is a fat and so a cake painted with it is not usually adversely affected by moisture. If you live in a damp, sometimes humid, climate, like the UK, moisture and water-based painted cakes can be a real issue!
Over-painting is possible with cocoa butter
I have spent years decorating my cakes using water-based paints. You can get some lovely effects. However, the really frustrating downside is that if you try to paint on top of a colour you’ve just applied, rather than adding more colour, the colour is removed! Very frustrating. The beauty of cocoa butter painting is that one colour can easily be applied on top of another to build up texture and depth. I love it!
Cocoa butter can be painted onto dark colours of sugarpaste
Painting light colours over dark sugarpaste is simply not possible with water-based edible paints. However, it is possible when you paint with cocoa butter. I suggest that you start by painting a white layer first, under your design and then apply colours and details on top.
WATCHPOINT: Cocoa butter is a fat that melts, typically, at around 34–38 °C, so if you are working in a hot climate or on a very hot day you may experience drying issues.
ADVERTISEMENT
What you need to paint with cocoa butter
To paint with cocoa butter you will need two basic ingredients, cocoa butter and coloured edible dusts. You will also need a selection of quality paintbrushes, a white plate and a heat source:
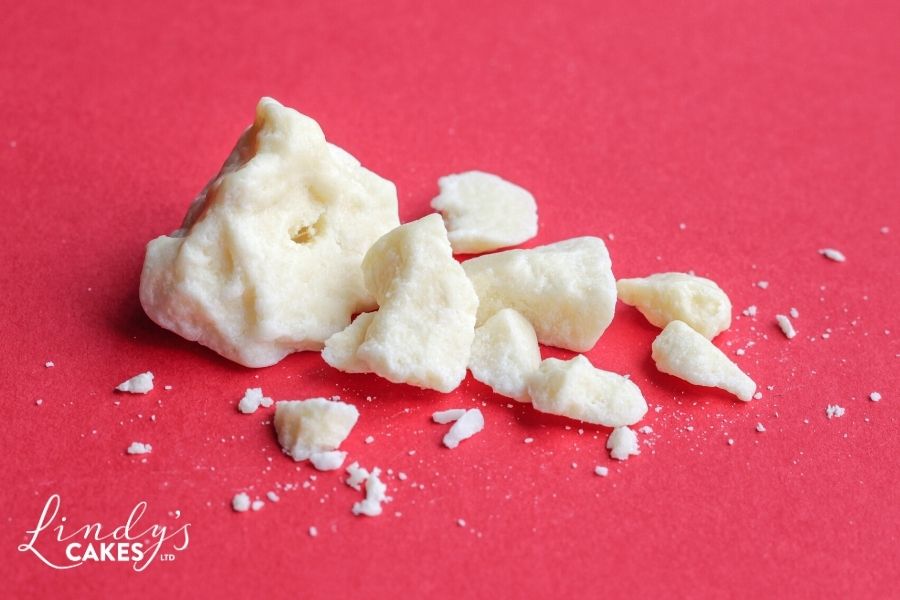
Cocoa Butter
Cocoa butter is a creamy-yellow edible fat extracted from cocoa beans. At room temperature, cocoa butter is solid. It can, however, be easily melted and blended with edible food dusts due to it’s has a low melting point. Cocoa butter is sold in its raw state as in my photo or made into callets, small buttons or drops.
Visit my ‘Why is Chocolate so Desirable‘ blog to find out more about cocoa beans and chocolate.
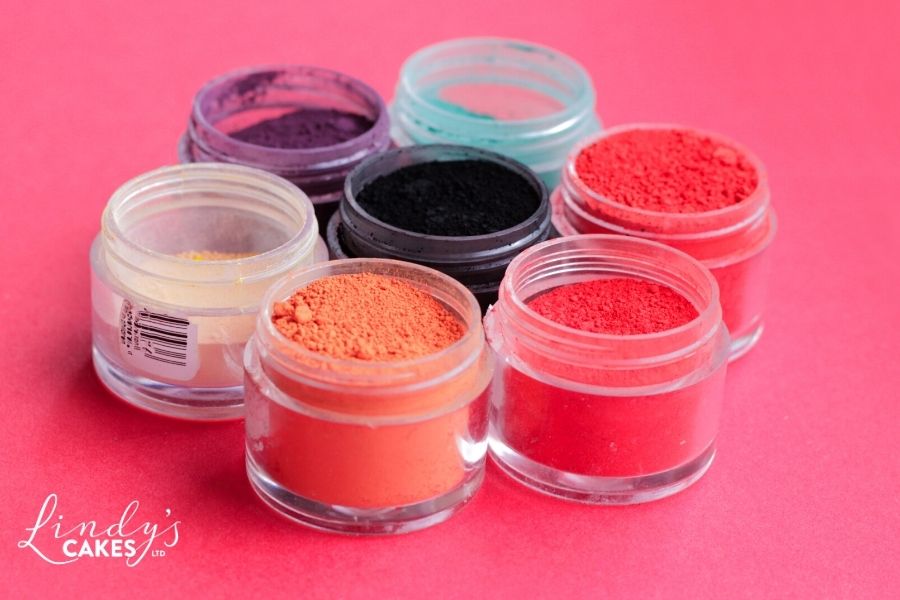
Edible food dusts
These are food-grade pigments which we use to add colour. They can be applied to sugarcraft neat, straight out of the pot using a brush, mixed into paste or icing or blended with water, alcohol, edible oil or cocoa butter to form a paint. Note when it comes to cocoa butter painting, not all edible dusts are equal. I have found that the UK brand, Rainbow Dusts work a treat. However, on my recent travels to New Zealand, I discovered the dusts, many of my students had in their toolboxes, simply didn’t blend with cocoa butter! So remember to test your dusts before starting a cocoa butter painting project.
Brushes and plates
The more brushes the better, is what I’ve found. Ideally in different sizes. If I can, I also like to have one brush per colour. You will also need some heat-resistant plates on which to mix your cocoa butter colours. Ideally, these should be white, as it’s easier to see the colours you have created.
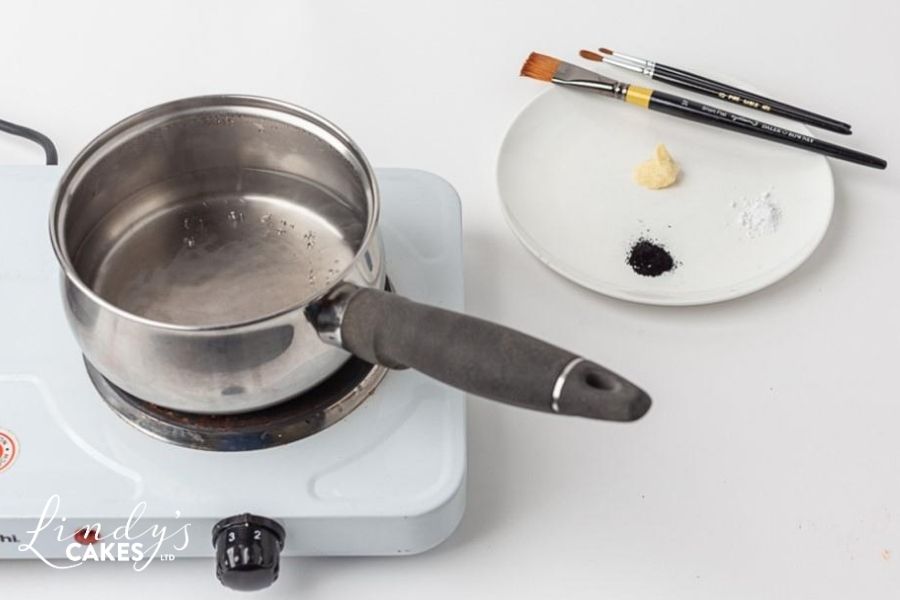
Heat source
Cocoa butter melts at just below body temperature at around 34–38 °C. This means you will need to gently heat your cocoa butter to enable you to mix your edible paint. There are various ways of doing this and I use different methods depending on whether I’m in my studio or in a classroom teaching students. Your options include a simmering pan of water, a pot warmer or tealight in a suitable stable container.
How to paint with cocoa butter
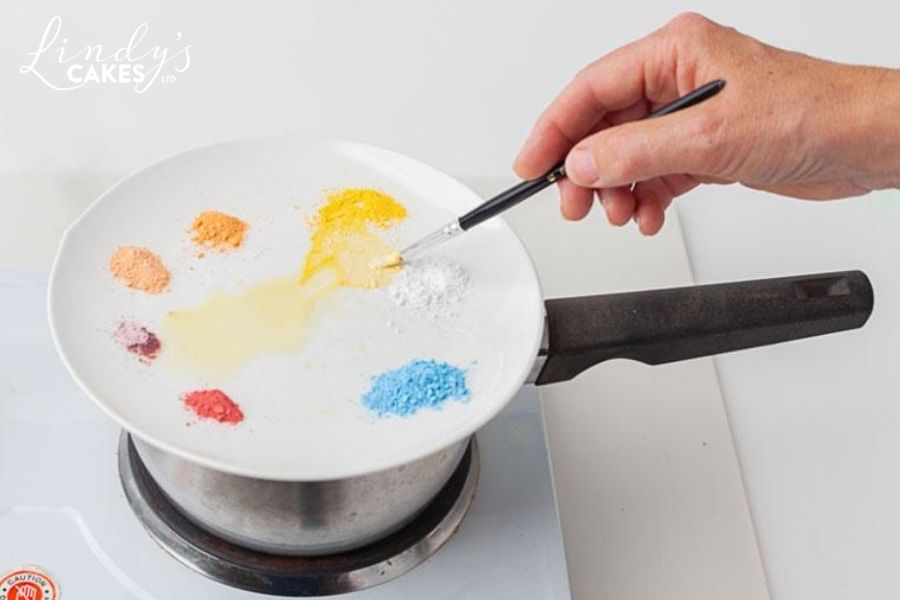
- Place a white plate on top of your gentle heat source.
- Ensure your plate is as level as possible – your cocoa butter will run to the lowest point once melted!
- Add a small amount of cocoa butter – a little goes a long way.
- Allow the cocoa butter to melt.
- Add small piles of coloured food dust around the edge of the plate, keeping it clear of your melted cocoa butter.
- To start painting mix a little melted cocoa butter into the coloured food dust that you wish to use. You are looking for a thickish poster paint or double cream consistency. It is always easier to add more cocoa butter than more dust.
- Take your loaded brush and apply brushstrokes to your dried sugarpaste.
- Start by filling in the background areas of your picture and allow these to set.
- Then gradually work your way forwards. Add all the small details on top with a fine brush near the end, as shown in the video below
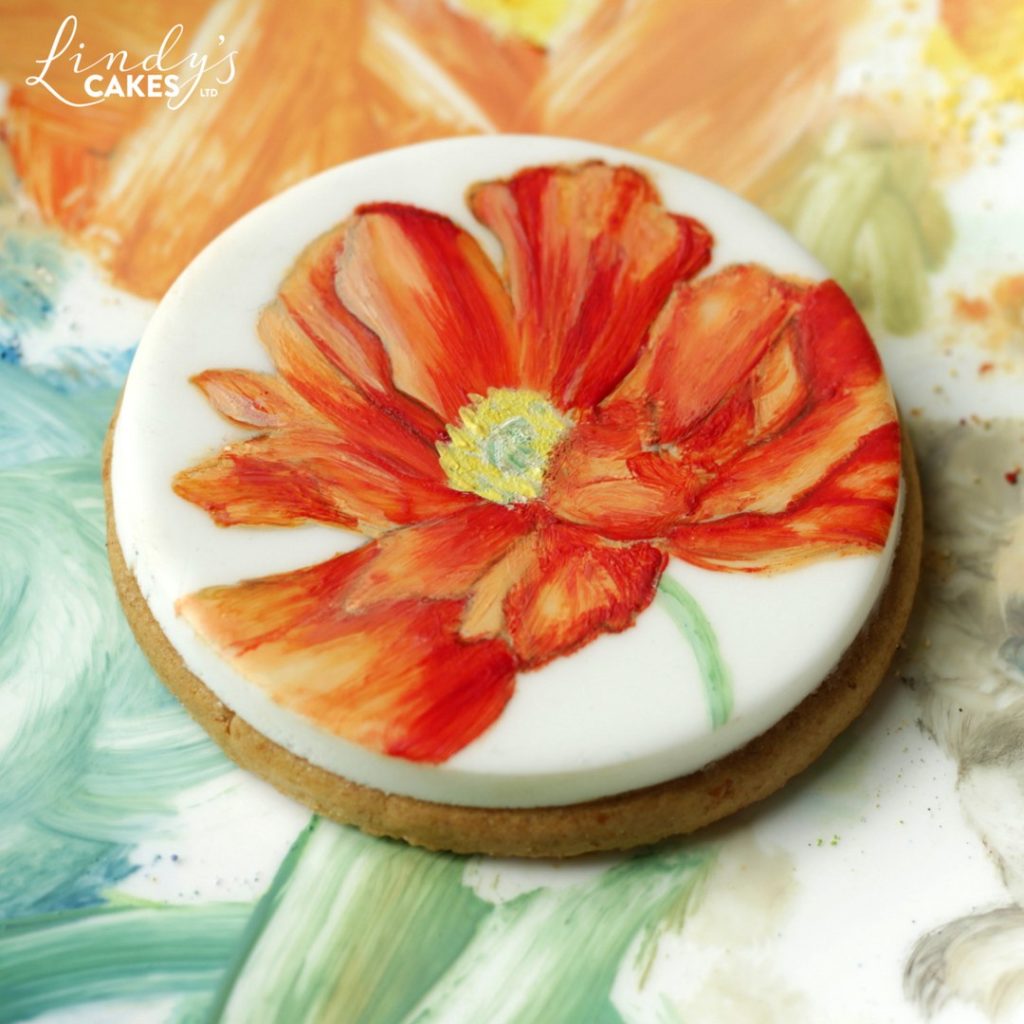
Painting a poppy using cocoa butter
A short video that illustrates the painting process. The poppy was originally one of my photos. The petal outlines I transfer to the dried sugarpaste, using tracing paper.
Cocoa butter painting tips
- If you leave a brush to one side and it sets hard, simply plate it onto your warm plate to remelt the cocoa butter.
- When painting a large cake with many colours, you may find it easier to use a number of plates. One plate for say greens, another for blues etc.
- To add just a touch of subtle colour try taking a dry brush and dust a little colour over a section of your painting.
- You can mix and blend your colours to achieve different hues and shades. In the same way, you would with any other painting medium
- Lighten colours using white. White can also be used to thicken up a cocoa butter colour.
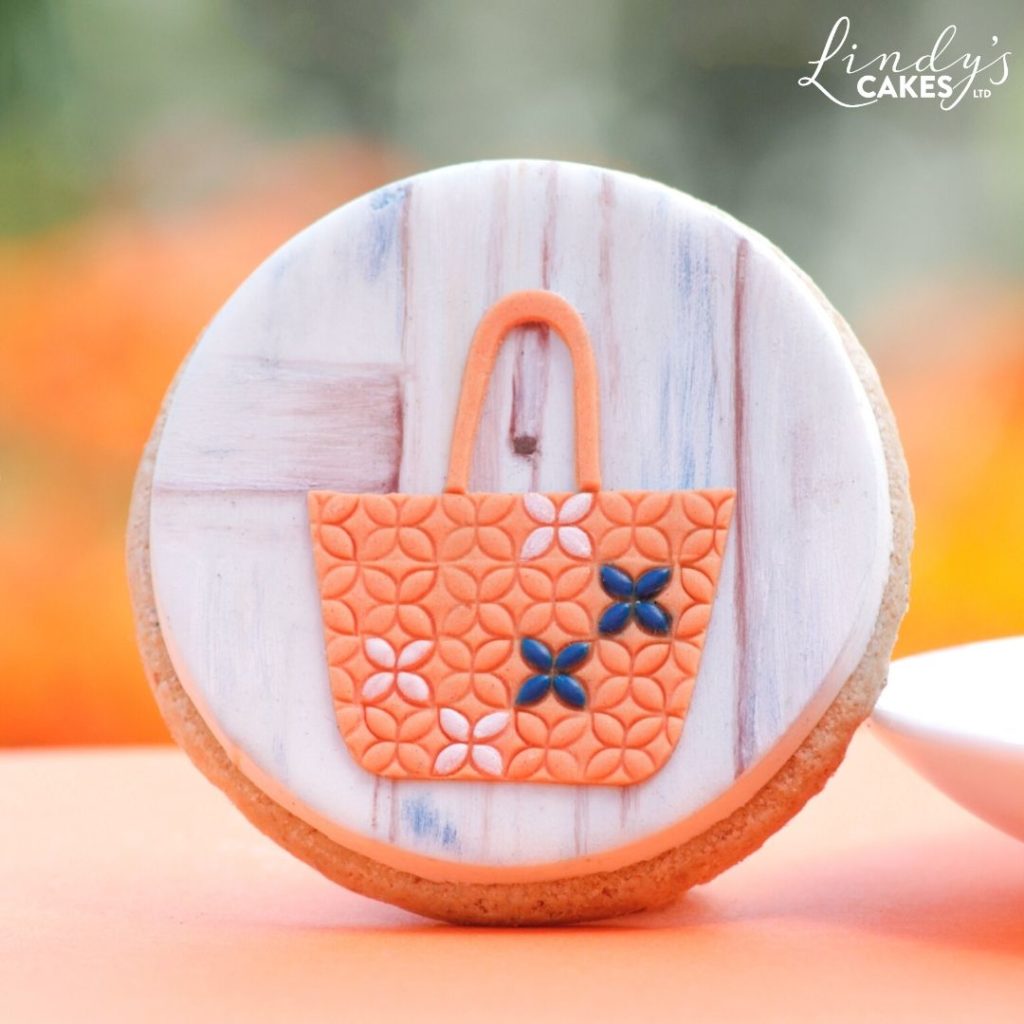
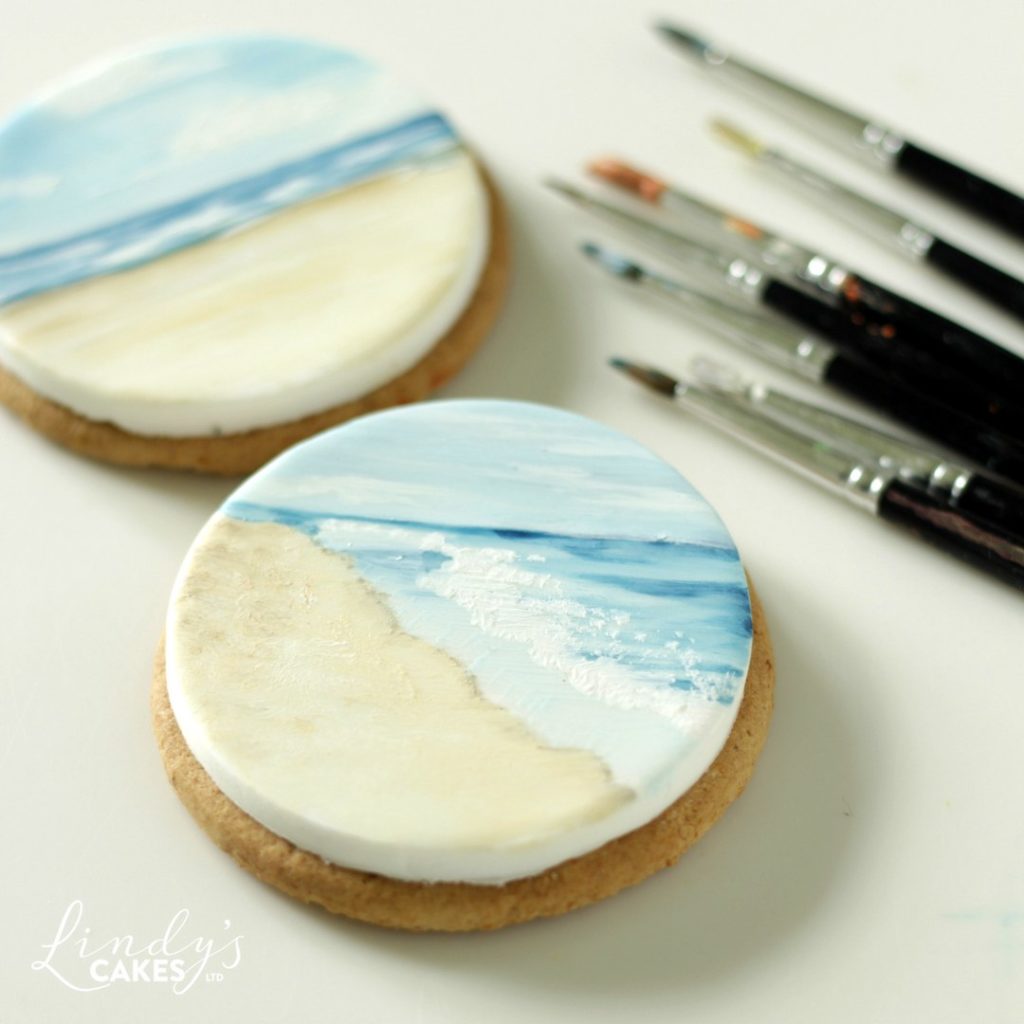
Summer scenes painted in cocoa butter
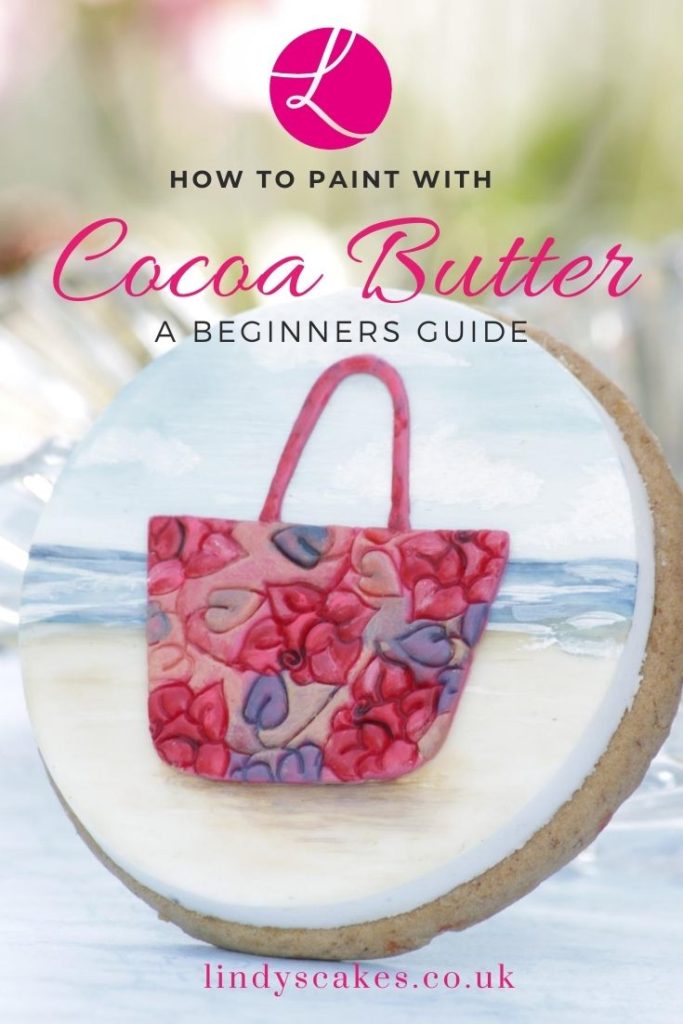
Cocoa butter painting can easily be combined with other sugarcraft techniques. In this example, I’ve cut out and textured tote bag. I’ve then added it on top of a cocoa butter painted background. I hope it gives you a few ideas…
More cocoa butter information
You will be able to see two more examples of cocoa butter painting, along with lots of step by step photographs, in my One-tier Party Cakes book. This book is being published 1st October 2020
Happy painting and decorating
Sweet wishes
Lindy
‘Bringing world-class sugarcraft into your kitchen’
You may also Like...
-
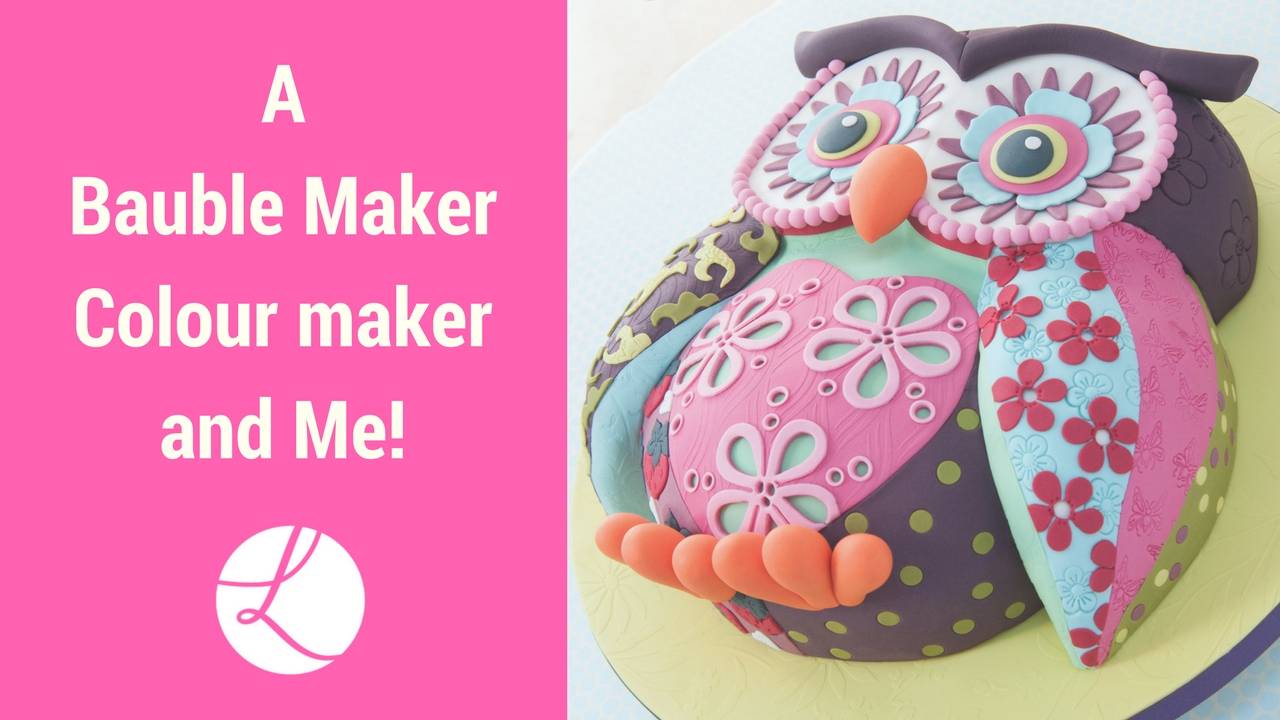
Everyone has a story; my story includes a bauble maker and a colour maker, but what about yours? Have you ever wondered what it is about your genetic makeup that…
-
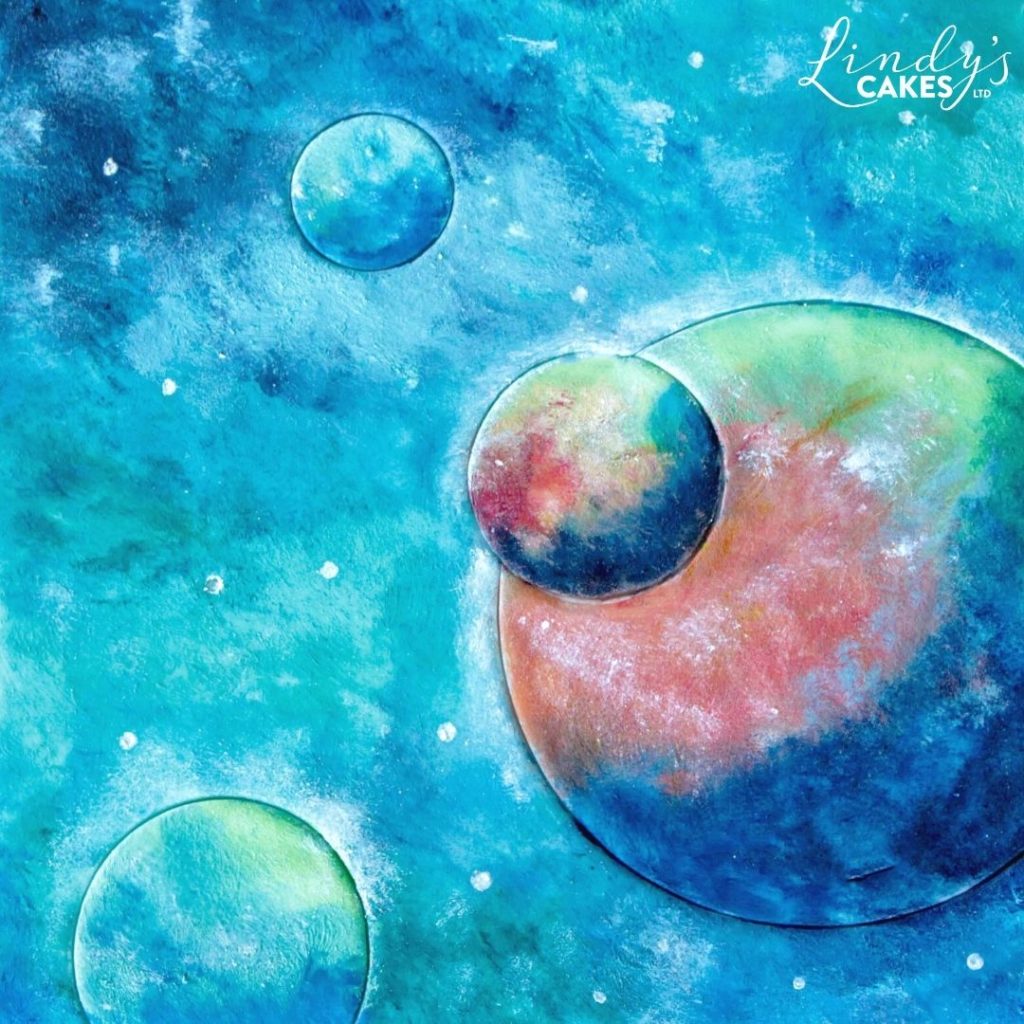
Edible gelatin baubles, or bubbles if you prefer, are a really effective eye-catching cake decoration. I know this as whenever I decorate a cake with these baubles, everyone seems totally…
-
Some taste combinations work beautifully together and one of my current favourites is chocolate and raspberry. These two ingredients not only look fantastic together, but complement each other extremely well,…
Noreen says
I love your books and your brilliant style. Thank you for hours of pleasure.
Lindy Smith says
It’s my pleasure Noreen…so pleased my books and style appeal to you 😀
beth says
hi, great work. Question, does the finished design rub off or smudge if was to come into contact with let’s say greaseproof paper? Wanting to paint some chocolate and send in the post.
Lindy Smith says
Hi Beth, I think that if you pack them carefully they will travel well. Cocoa butter has a low melting point so I wouldn’t send them during warm weather but during the winter months, they should be fine. Have fun 😀